Felix Krause
Co-Founder of contextsdk.com
Founder of fastlane.tools

While I leverage AI for my work, all my blog posts are handcrafted.
Creating perfect App Store Screenshots of your iOS App
Your App Store screenshots are probably the most important thing when it comes to convincing potential users to download or purchase your app. Unfortunately, many apps don’t do screenshots right.
A quick overview over existing methods to generate screenshots:
Manually create screenshots on all devices and all languages
It comes without saying that this takes too much time, which also decreases the quality of the screenshots. Since it is not automated, the screenshots will show slightly different content on the various devices and languages. Many companies end up creating screenshots only in one language and use it for all languages. While this might seem okay to us developers, there are many potential users out there, that cannot read the text on your app screenshots if they are not localised. Have you ever looked at a screenshots with content in a language you don’t know? It won’t convince you to download the app.
Biggest disadvantage of this method: If you notice a spelling mistake in the screenshots, you release an update with a new design or you just want to show more up to date content, you’ll have to create new screenshots for all languages and devices… manually.

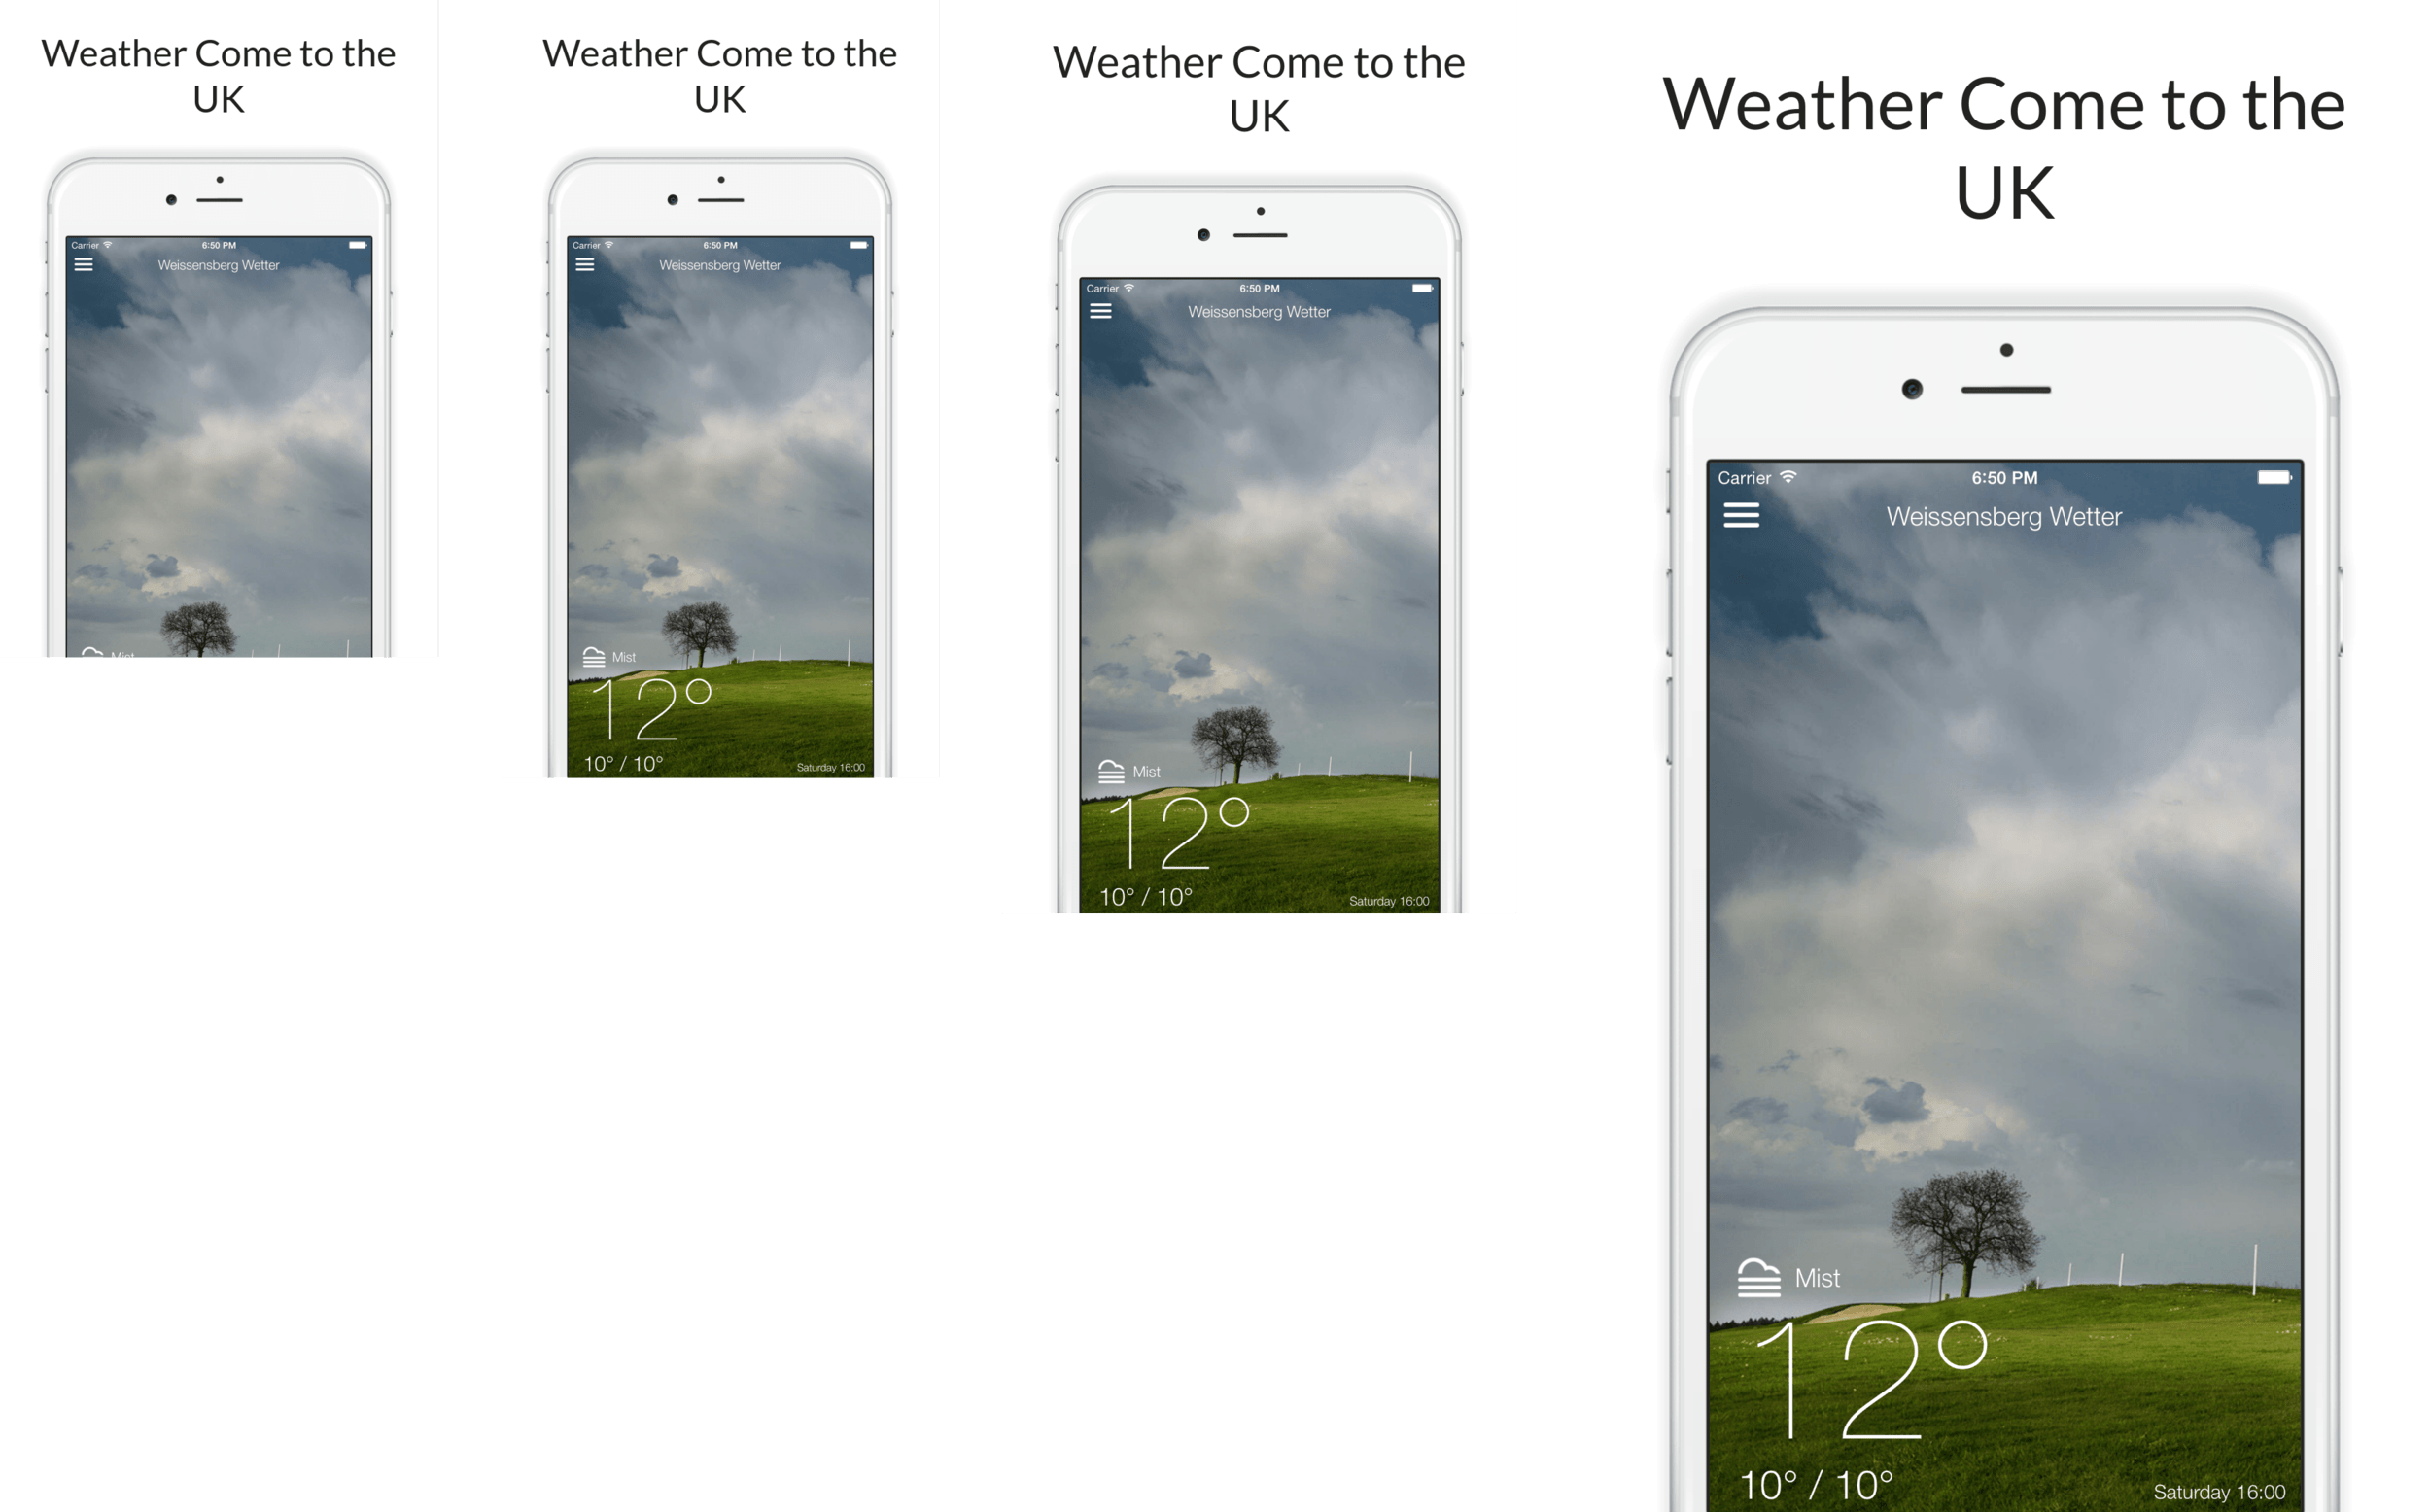
Notice how the size of the font of the first 3 screenshots (iPhone 4, iPhone 5, iPhone 6) are exactly the same. Only the last screenshot (iPhone 6 Plus) the text seems larger as it’s a @3x display.
Create screenshots on one device type, put it into frames and resize them
This way, you only create 5 screenshots per language on only one device type and put them into frames. By putting the one screenshot into different frames, the tool you use can resize the resulting image to match the iTunes Connect requirements.
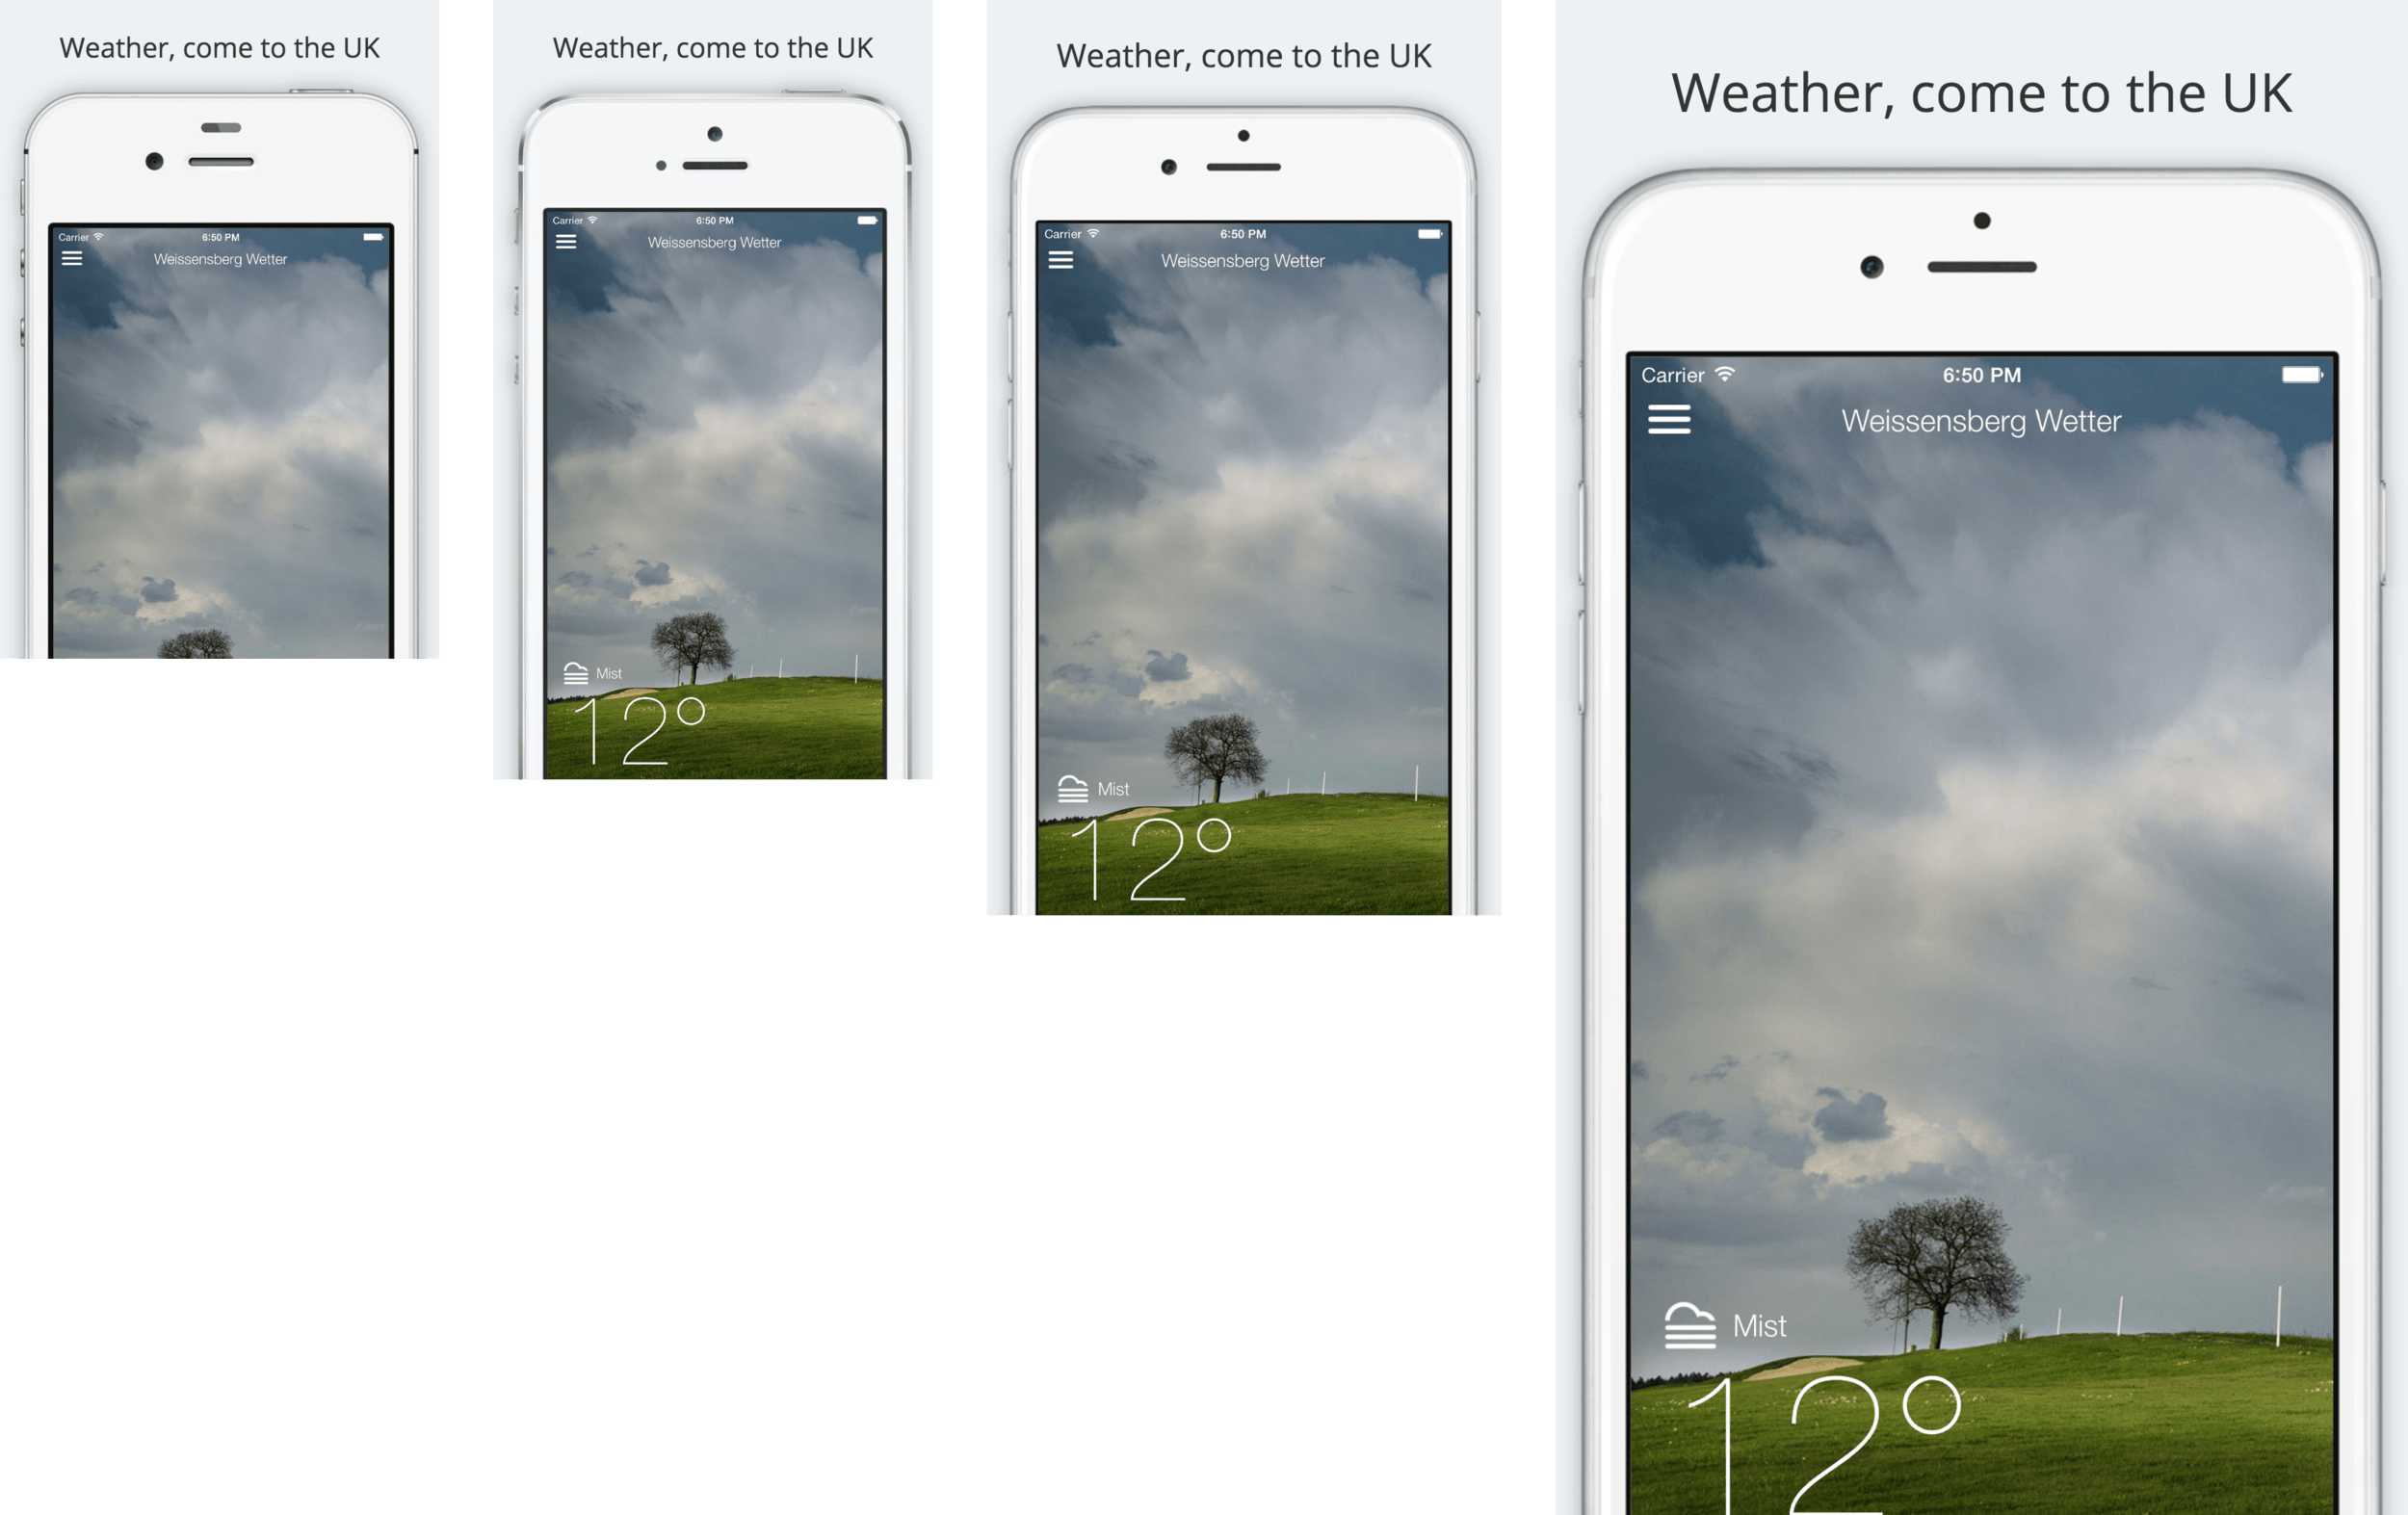
Below some example applications that use this technique. I only had to upload one screenshot and got the result shown below. (left: iPhone 4, right: iPhone 6 Plus)
Do you see the difference between the font sizes in the screenshots? Carrier is easily readable on the iPhone 6 Plus and maybe the iPhone 6, but not on the other devices. Another problem with this service is the wrong device types: The iPhone 6 should not look the same as the other devices.
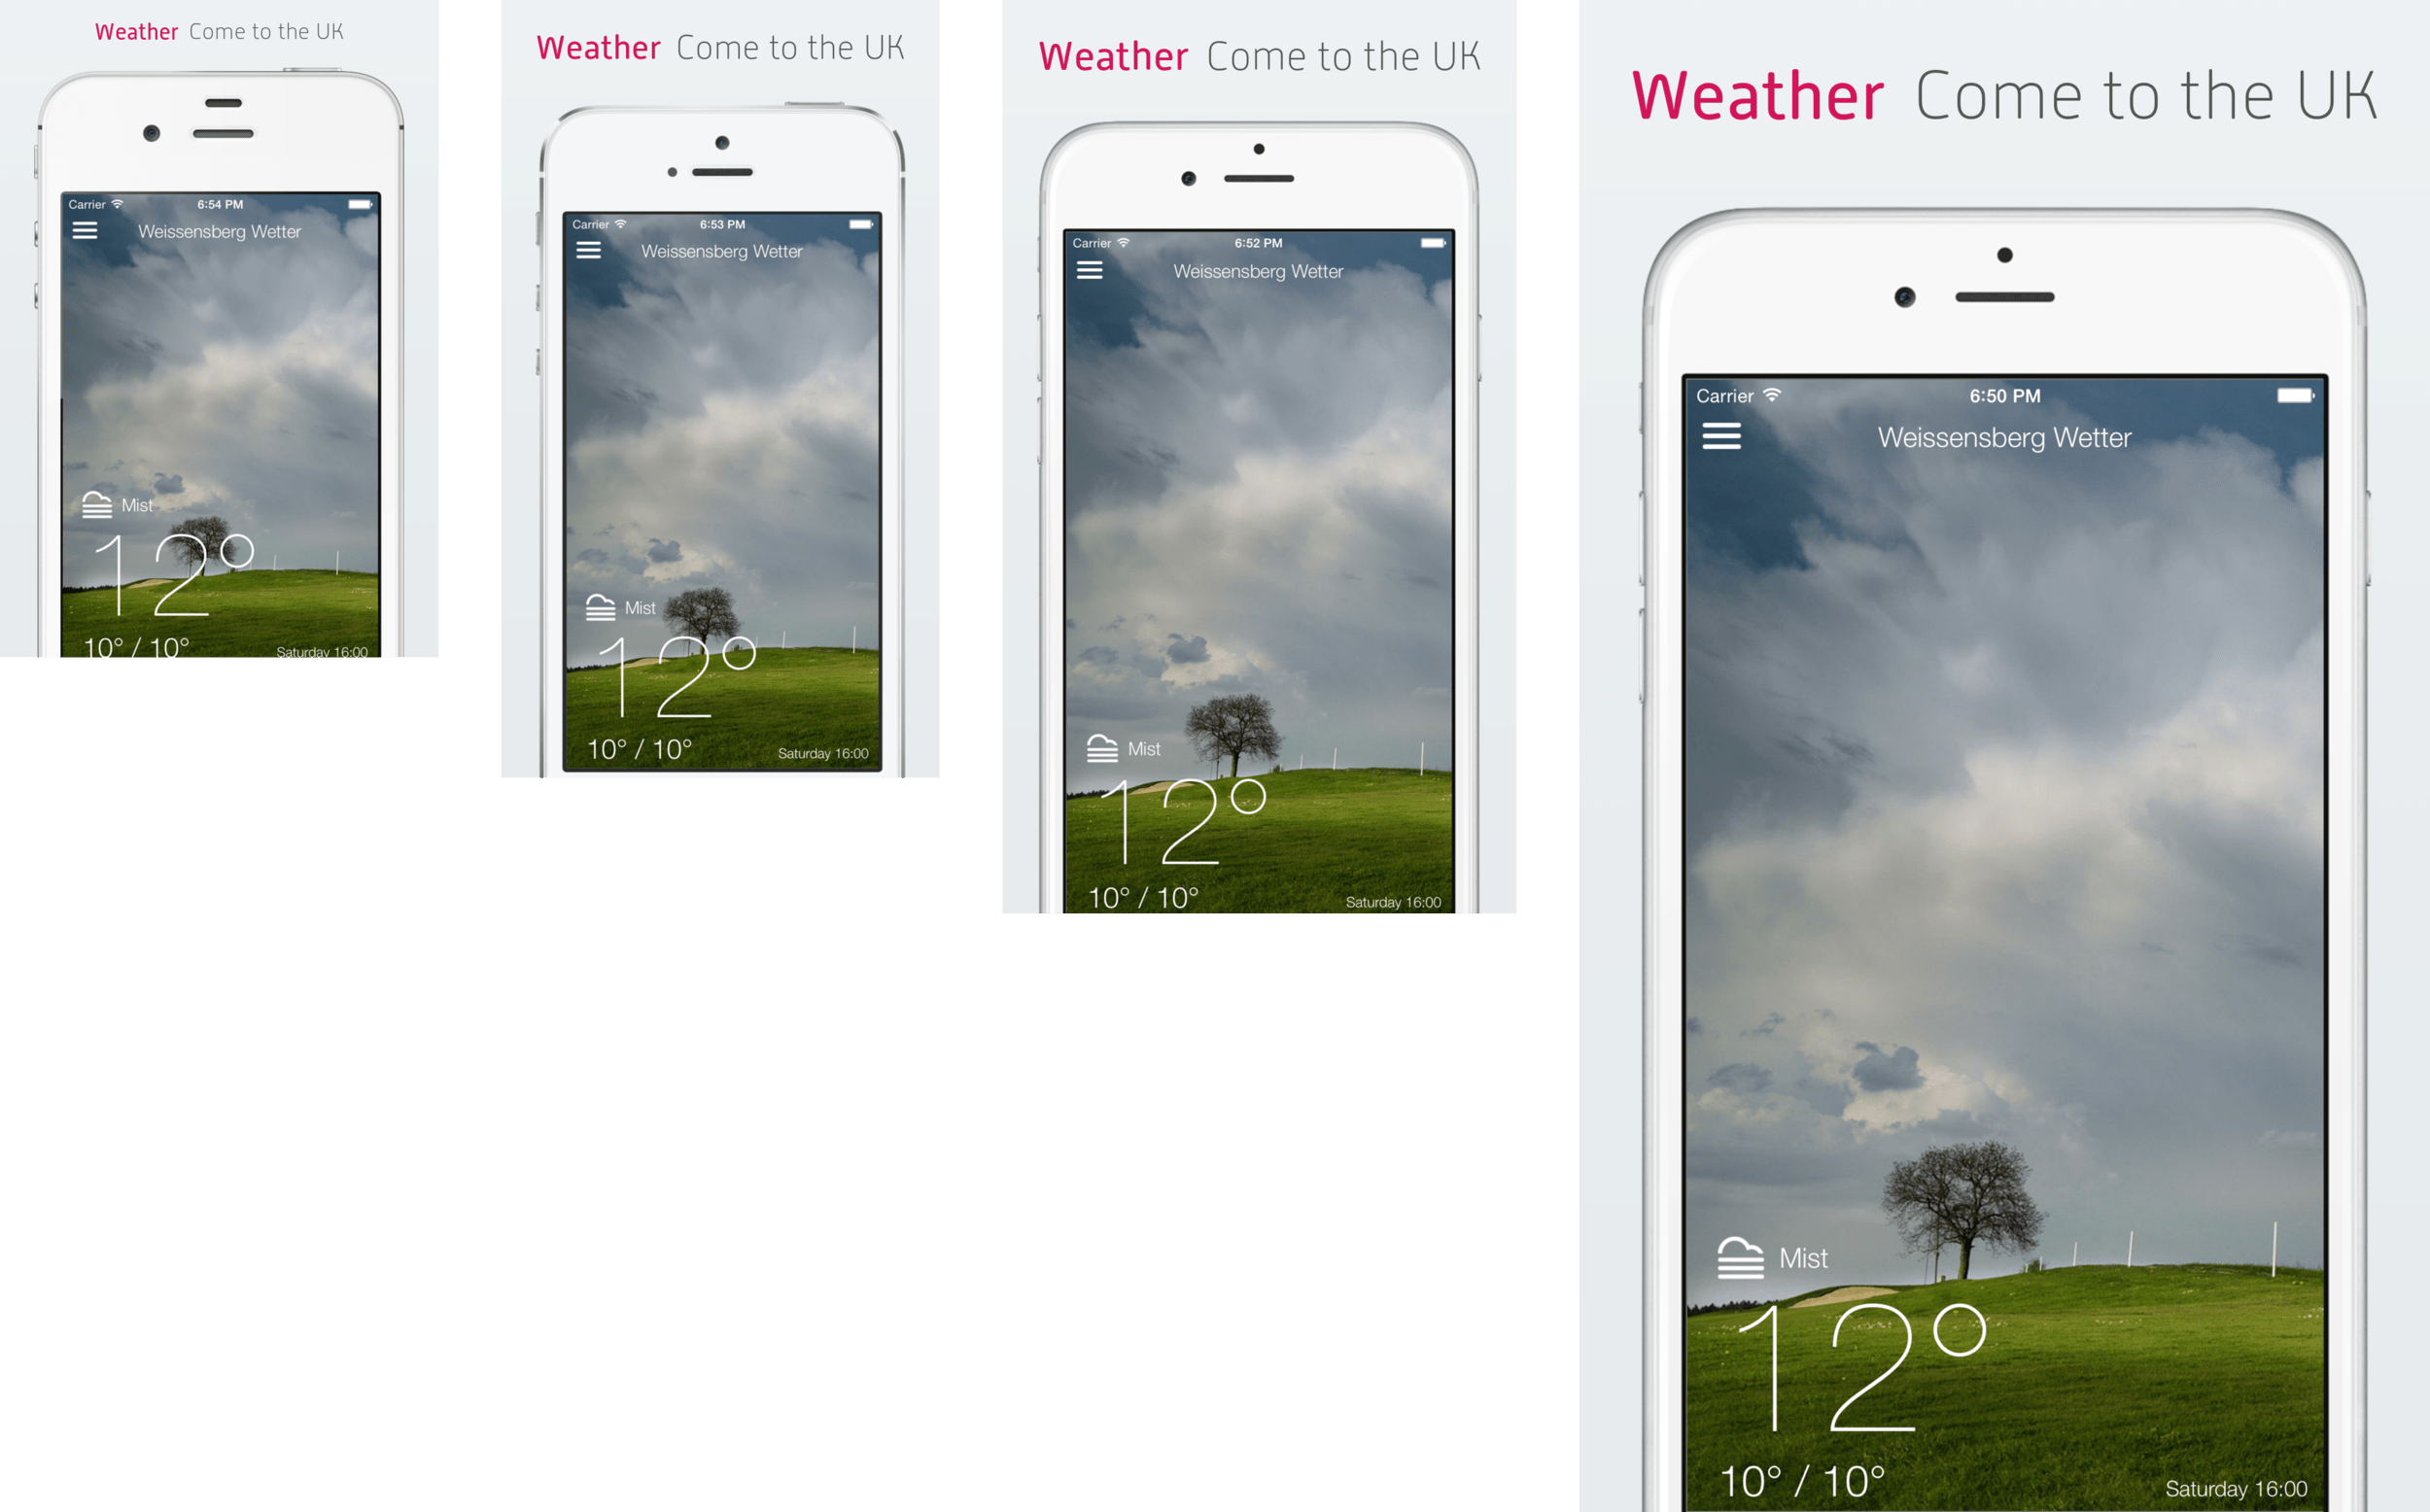
A different example which now uses the correct device frame for each screen size. Do you see how very small the font on the iPhone 4 is? All 4 frames use the exact same screenshot. On smaller devices this results in very small fonts which are difficult to read for the end-user. On larger devices the screenshot is scaled up, which causes blurry images and fonts.
Don’t get me wrong, using a web service that does these kind of frames for you is a great and easy way to get beautiful screenshots for the App Store. It’s also the best solution if you don’t want to invest more time automating taking better screenshots.
Update August 2016: Use just one set of screenshots
With the iTunes Connect screenshot update on August 8th, 2016, you can now use one set of screenshots for all available devices and screenshots. iTunes Connect will automatically scale the images for you, so that each device renders the same exact image.
While this is convenient, this approach has the same problems as the device frame approach: The screenshots don’t actually show how the app looks on the user’s device. It’s a valid way to start though, since you can gradually overwrite screenshots for specific languages and devices.
To sum up, the problems with existing techniques:
- Wrongly scaled screenshots resulting in blurry font
- Not using the correct device frames for the various screen sizes
- Screenshot doesn’t show the screen the user will actually see (iPhone 6 Plus user interface should look differently than iPhone 4)
- Most screenshot builder don’t have landscape support
- No Mac App Support
Using correct screenshots for all device types and languages (“The Right Way”)
Checklist for really great screenshots:
- Screenshots localised in all languages your app supports
- Different screenshots for different device types to have the correct font in your screenshots
- Same content in all languages and device types (means same screens visible with the same items)
- No loading indicators should be visible, not even in the status bar
- No scrolling indicators should be visible
- A clean status bar: Full battery, full Wifi and of course 9:41
- Localised titles above your screenshots
- Device in screenshots actually matches the device of the user (except for the color)
- A nice looking background behind the frames
- Optionally a coloured title around the device frame
Clean Statusbar

Notice the following things:
- 9:41 AM (or just 9:41)
- All 5 dots (formerly known as bars)
- Full WiFi Signal
- Full battery
To achieve such a nice looking status bar, I can really recommend SimulatorStatusMagic by Dave Verwer. It’s very easy to setup and you get all the above mentioned points for free.
You can also use the Quick Time recording feature, by connecting your real device via USB. This works nicely, however it requires you to own a physical device for each screen size.
Nothing is perfect
I worked on screenshot automation for a really long time, but haven’t found the ultimate solution (yet). Even with tools like snapshot and frameit there are some open issues.
Okay, back to what you can actually do today :) Below are the results of nice screenshots, which were all generated completely automatically.
What’s wrong with those screenshots? The time isn’t 9:41.
On the iPhone 4, iPhone 5 and iPhone 6 the font size is exactly the same. The iPhone 6 Plus, again, has a @3x display which is why the text appears larger.
How does this look like for landscape screenshots?
Since the above screenshot collection looks a bit messy I decided to automatically resize the screenshots in the following examples. Instead of leaving all screenshots 1:1 they now appear properly aligned next to each other.
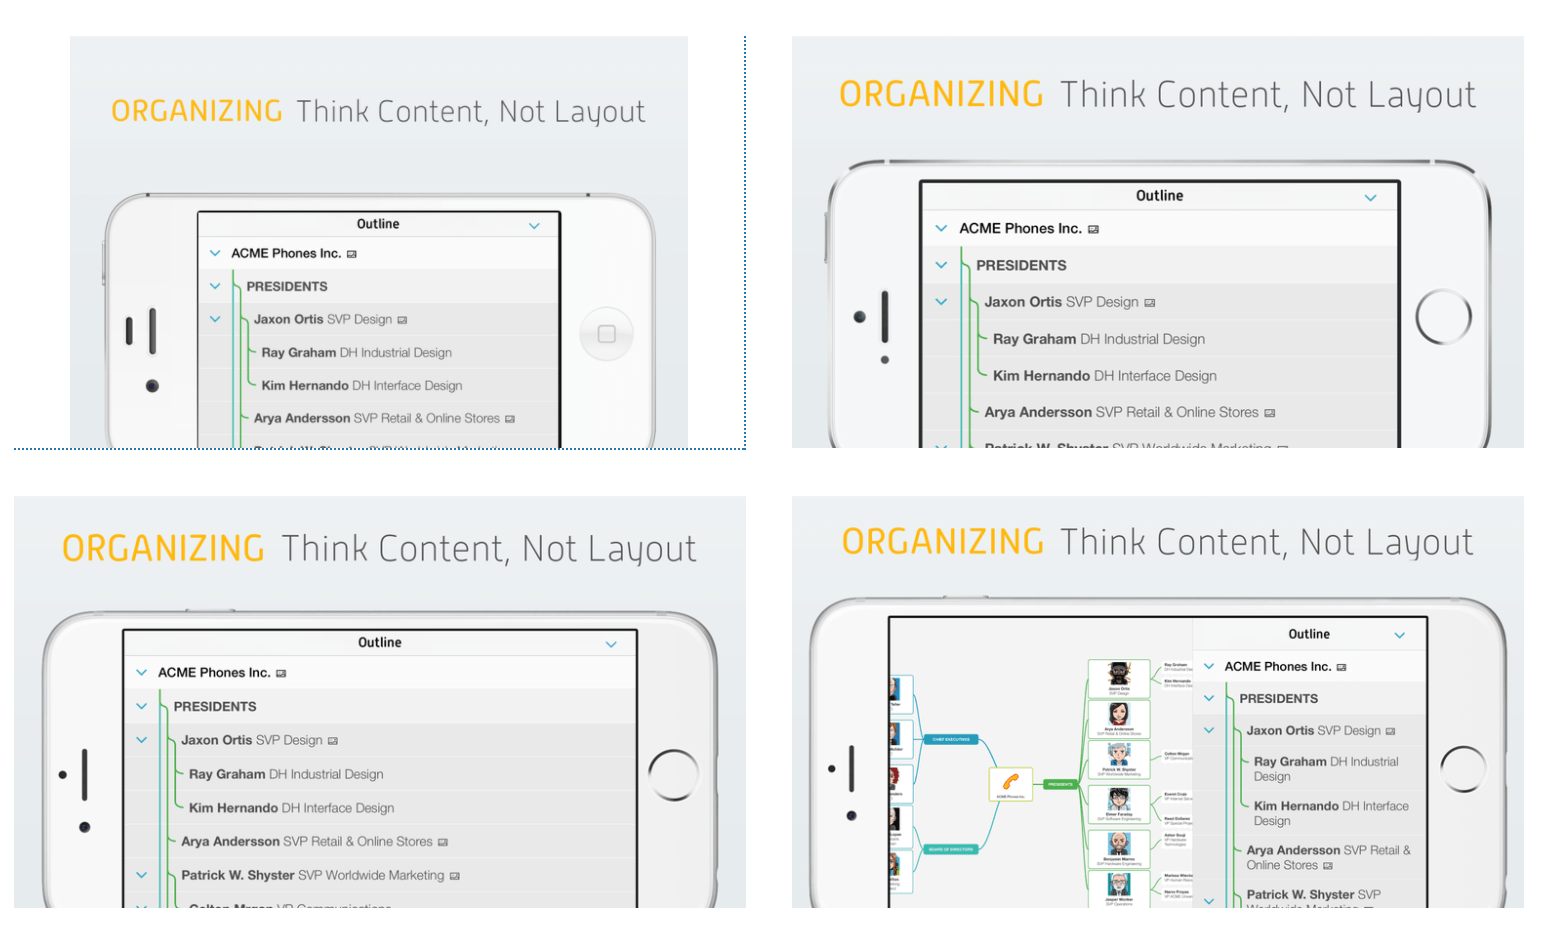
Landscape screenshots of MindNode: The iPhone 6 Plus shows a split screen when the app is in landscape mode. The smaller screen sizes show the list only. The users can see how the app looks like on their device before even installing the app.
Another interesting detail: Take a look at the lock button on the different devices, on the 2 screenshots on the top the lock button is on the top of the iPhone, while the lock button is on the right side on the latest generation.
The screenshots don’t have a status bar, since MindNode doesn’t show it in landscape mode.
Special thanks to Harald Eckmüller for designing the MindNode screenshots.
How does this look like for multiple screenshots?
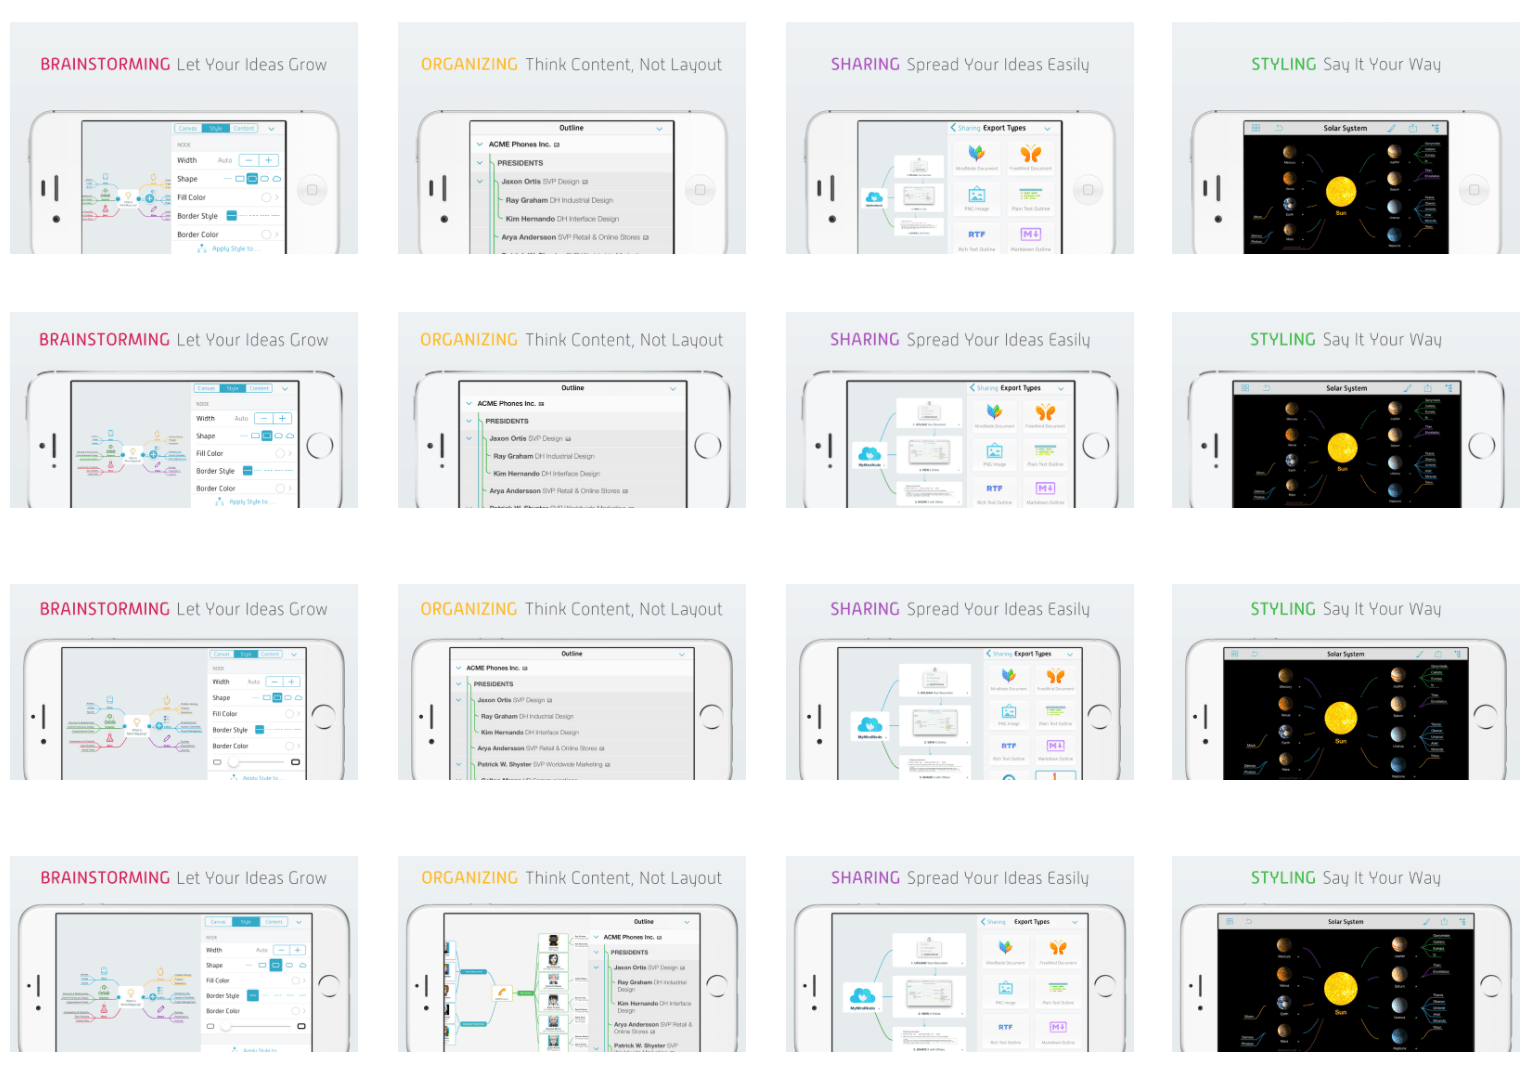
How does this look like when you support multiple languages?
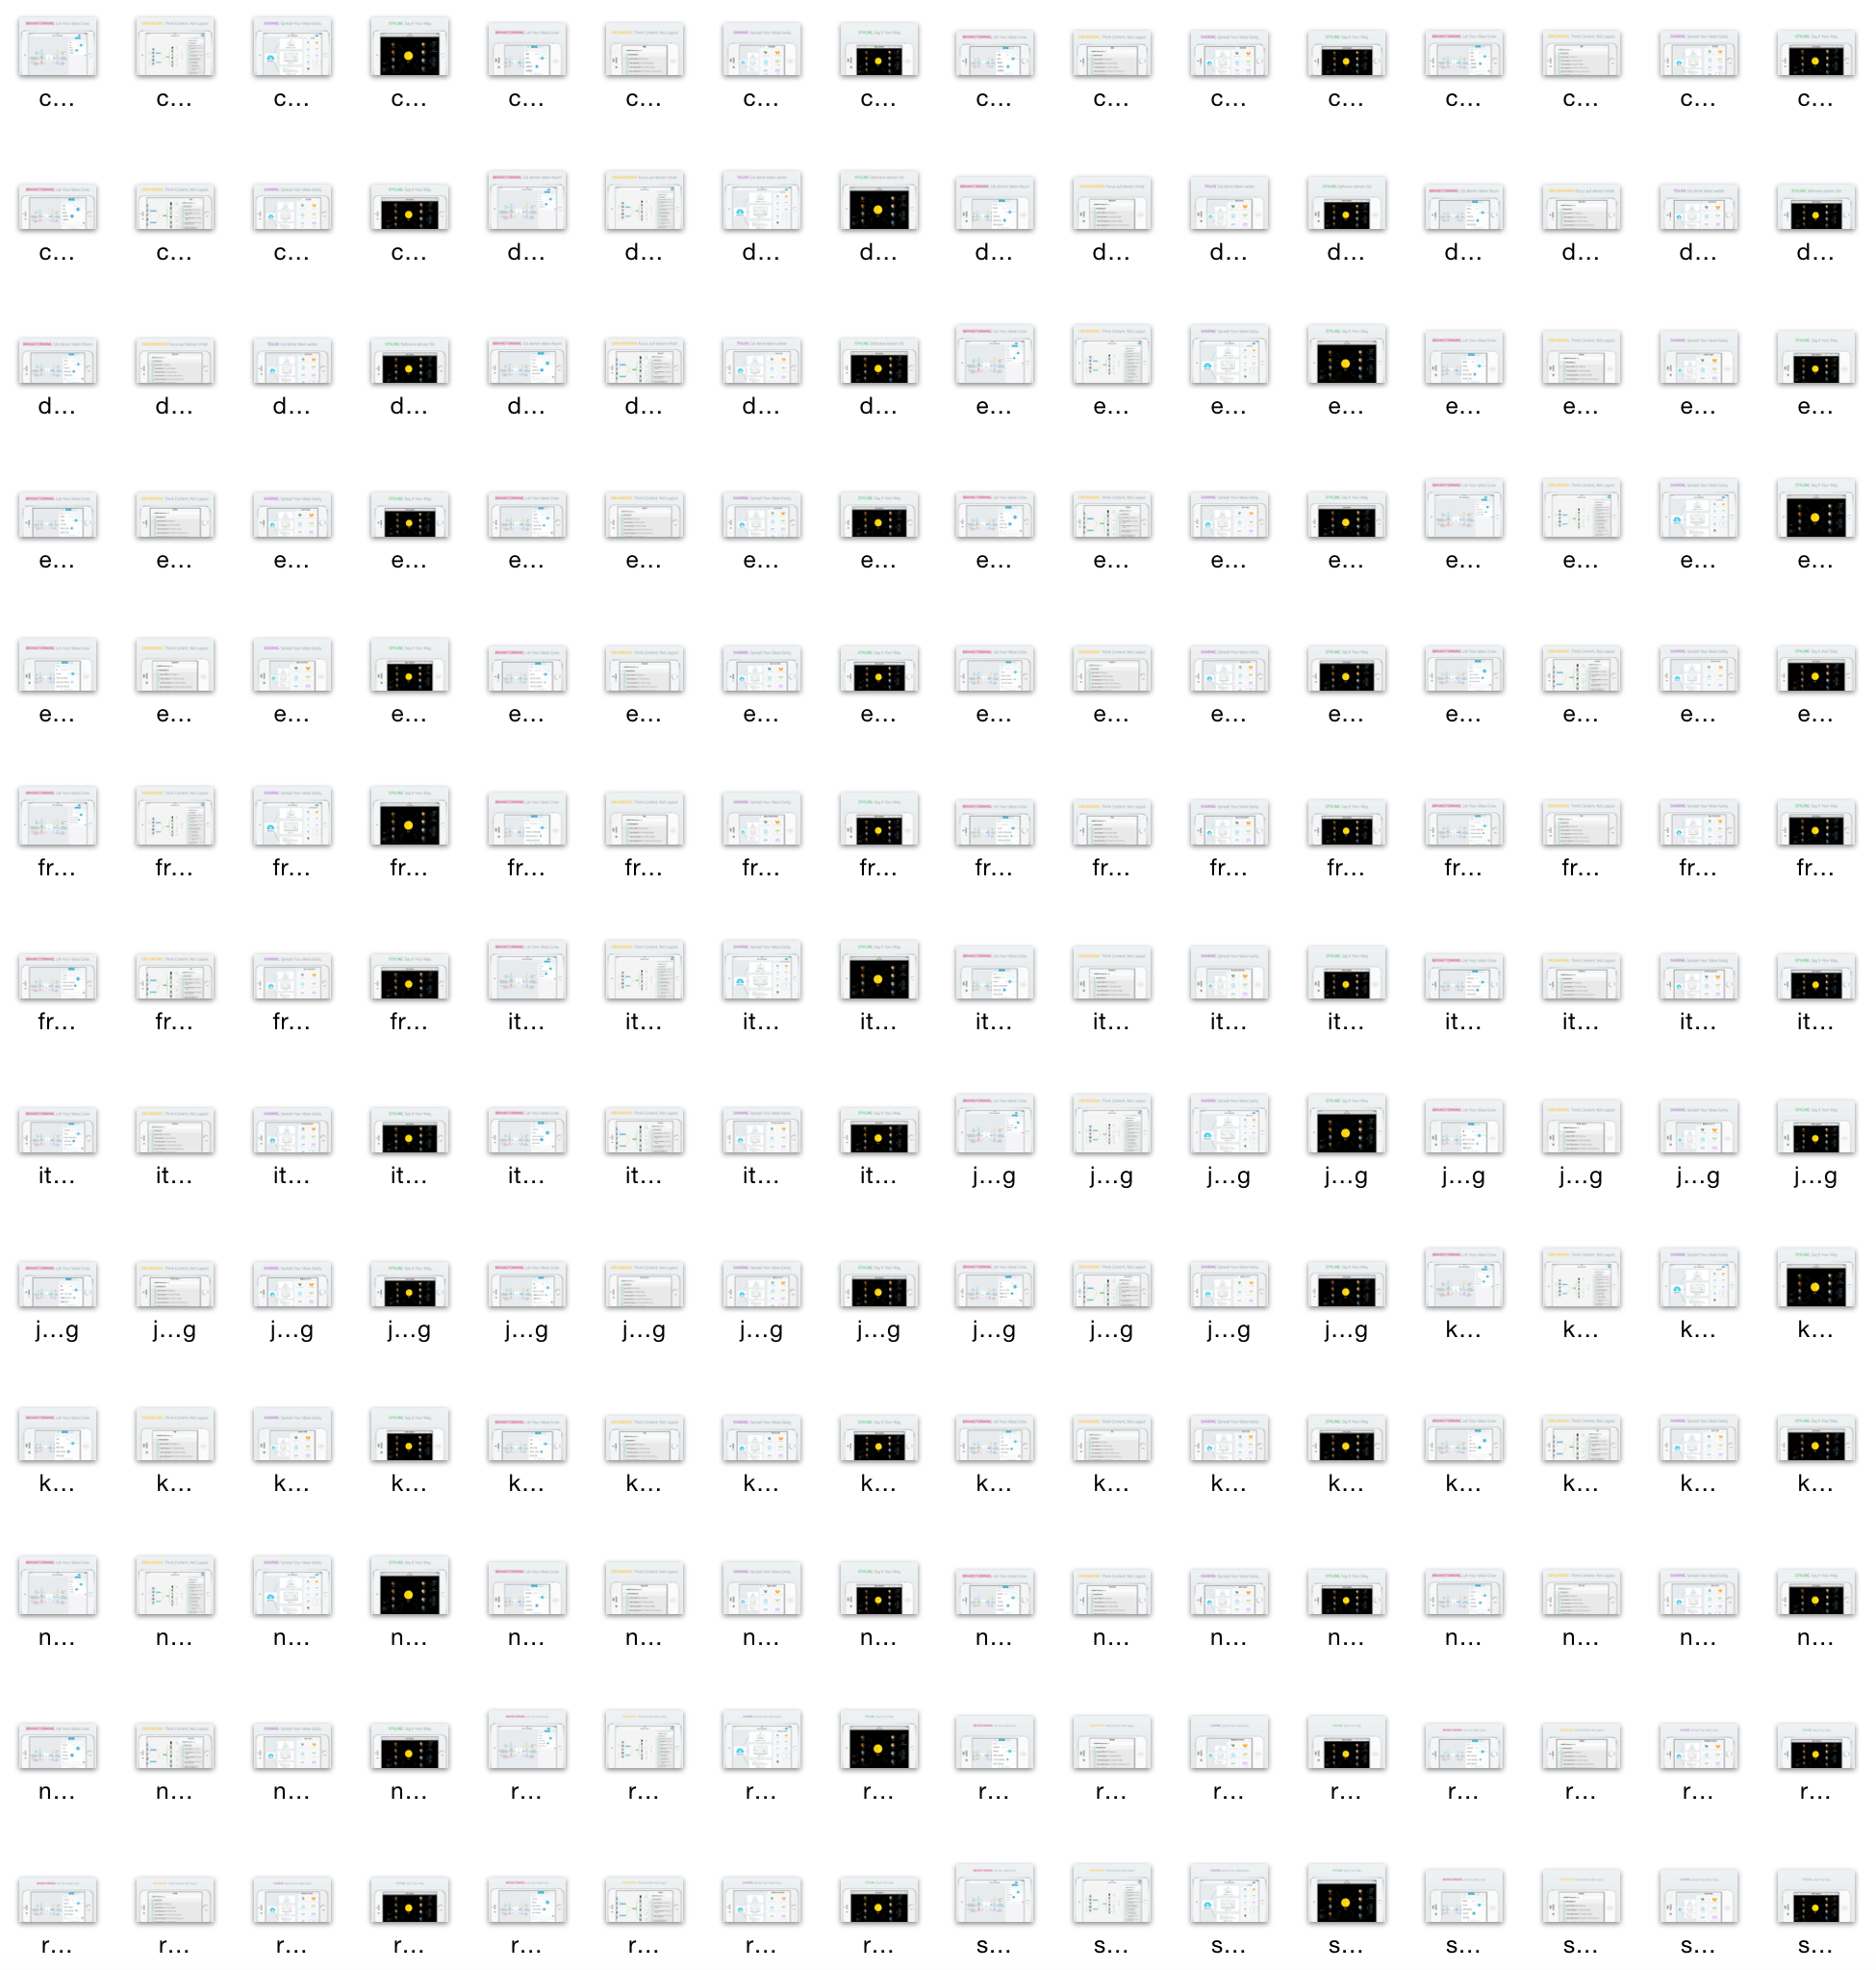
Generating this amount of screenshots takes hours, even when it is completely automated. The nice thing: You can do something else on your Mac while the screenshots are generated, as long as you don’t need the simulator. Instead of working while the screenshots are generated, you can also take a nap or tweet about fastlane.
How does this magic work?
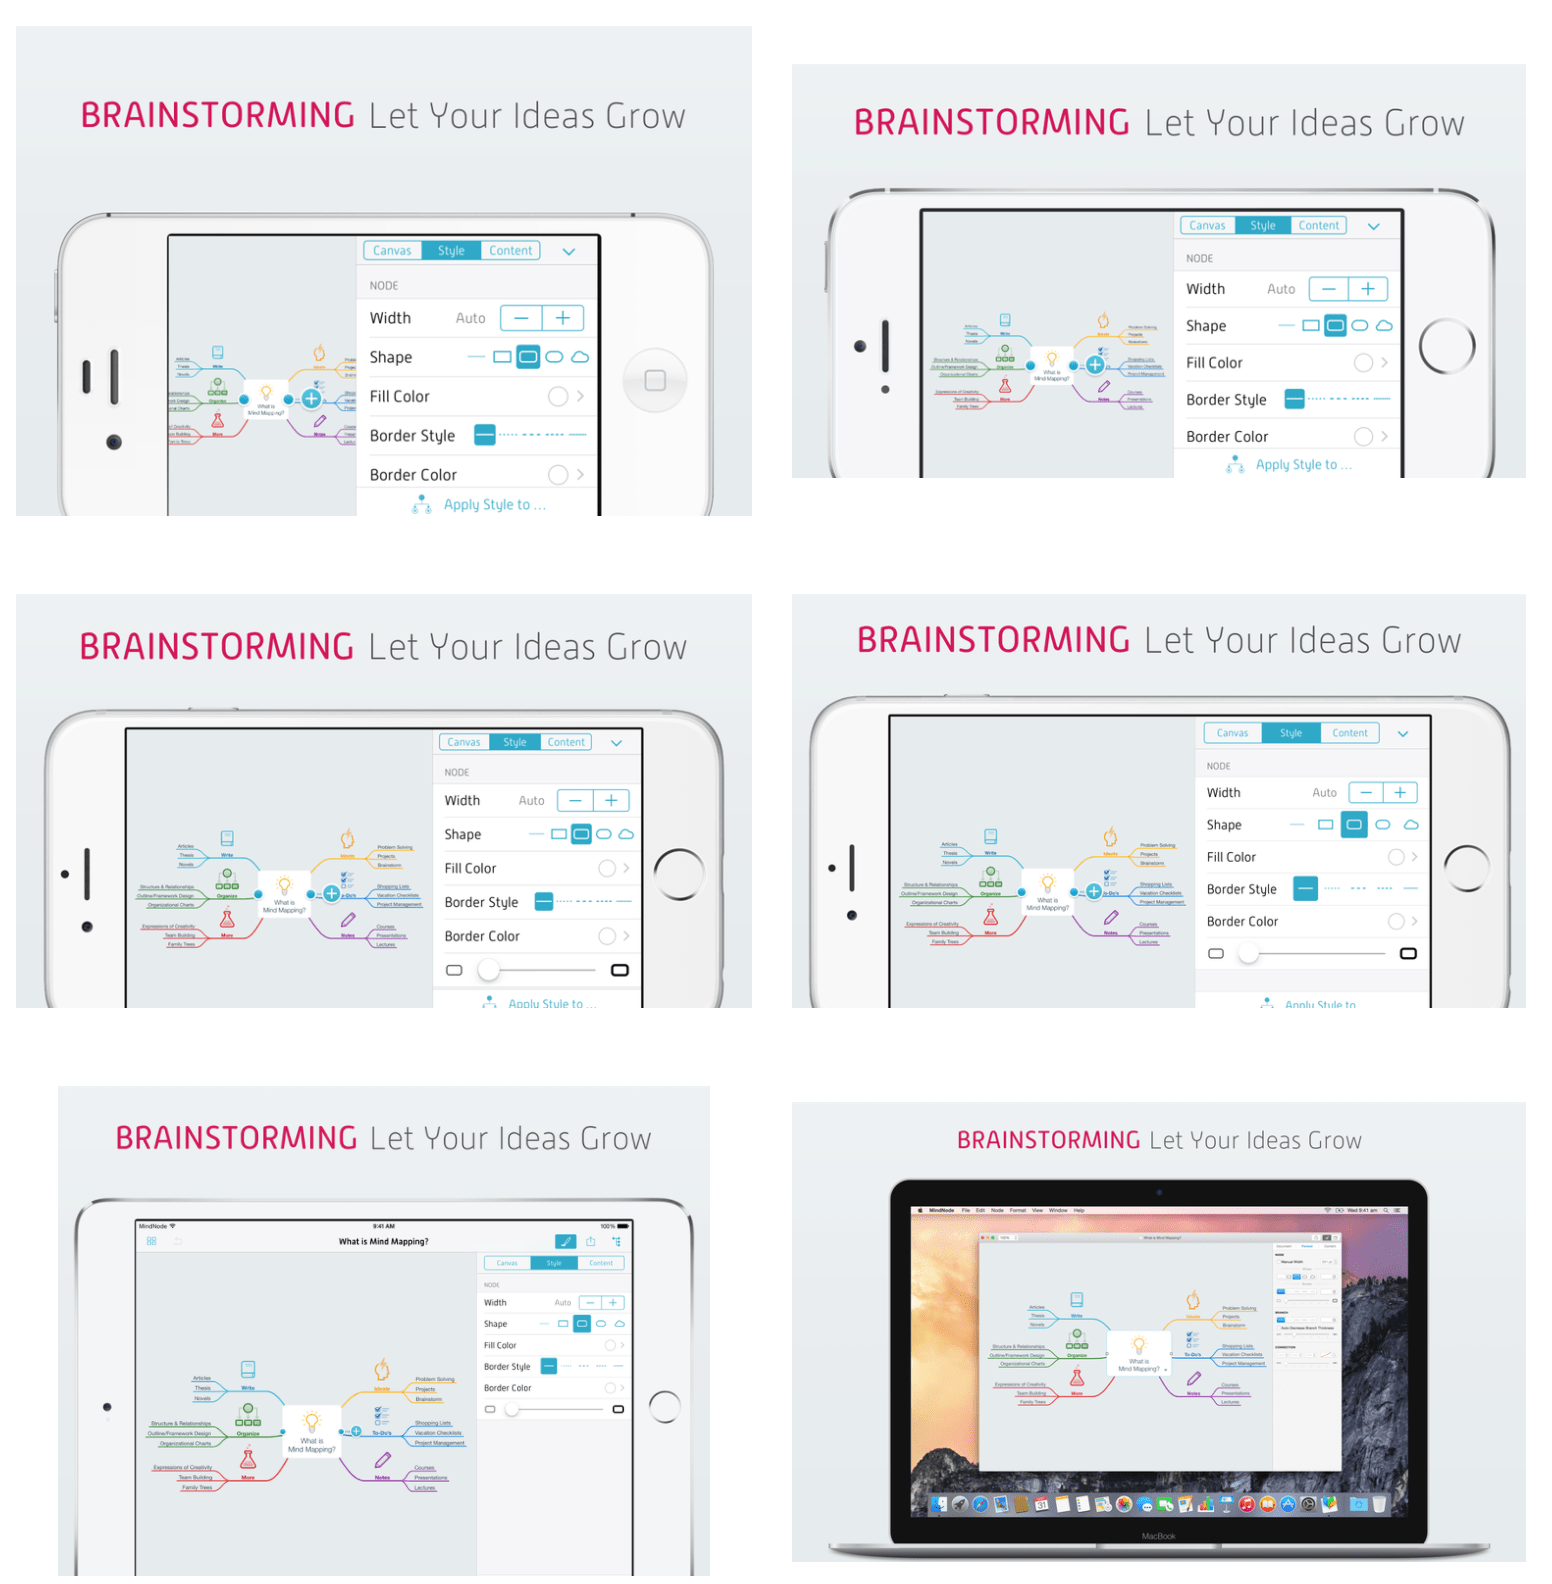
All MindNode screenshots shown above are created completely automatically using 2 steps:
Creating the Screenshots
Using snapshot you can take localized screenshots on all device types completely automatic. All you have to do is provide a JavaScript UI Automation file to tell snapshot how to navigate in your app and where to take the screenshots. More information can be found on the project page. This project will soon be updated to use UI Tests instead of UI Automation to write screenshot code in Swift or Objective C instead.
This step will create the raw screenshots for all devices in all languages. At this point you could already upload the screenshots to iTunes Connect, but this wouldn’t be so much fun.
Adding the device frame, background and title
frameit was originally designed to just add device frames around the screenshots. With frameit 2.0 you can now add device frames, a custom background and a title to your screenshots.
- Custom backgrounds
- Use a keyword + title to make the screen look more colorful
- Use your own fonts
- Customise the text colors
- Support for both portrait and landscape screenshots
- Support for iPhone, iPad and Mac screenshots
- Use .strings files to provide translated titles
The same screenshot on the iPhone, iPad and Mac.
Take a closer look at the screenshots above: The iPad’s time is 9:41 and the carrier name is MindNode. The other screenshots don’t have a status bar, as MindNode doesn’t show it on the iPhone in landscape mode.
A timelapse video of snapshot creating the MindNode screenshots.
The generated HTML Summary to quickly get an overview of your app in all languages on all device types.
How can I get started?
To make things easier for you, I prepared an open source setup showing you how to use frameit to generate these nice screenshots, available on GitHub.
The interesting parts are:
- Framefile.json: Contains information about the font family, font color and background image
- Each language folder: Contains a keyword.strings and title.strings, containing the localised text for the title
All you have to do now is run frameit white, to frame all the screenshots generated by snapshot.
Putting things together
Calling snapshot and frameit after each after is far too much work, let’s automate this.
Take a look at the fastlane configuration of MindNode: Fastfile
lane :screenshots do
  snapshot
  frameit(white: true)
  deliver
end
To generate new screenshots, frame them and upload them to iTunes Connect you only have to run
fastlane ios screenshots
More Information
snapshot, frameit and deliver are part of fastlane.
Special thanks to MindNode for sponsoring frameit 2.0 and providing the screenshots for this blog post.
Tags: screenshots, snapshot, frameit, automation | Edit on GitHub